 |
1.
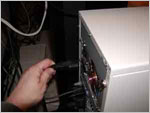
The first step is obvious! Power down your PC! And for safety measures
make sure you have unplugged all your power cords.
|
 |
2.
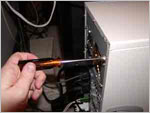
Next locate all the screws and/or clamps that hold the computer case
and/or panels together.. |
 |
3.
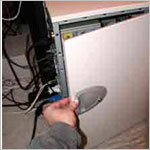
Now it's time to gain access to the interior of the computer case.
Simply remove the case or the panels that hold it together.
|
 |
4.
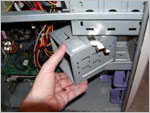
If your PC happens to have a removable hard drive bracket, now is the
time to remove it! It’s specially designed to be removed without
hassles, and its absence will make this simple installation project
even easier.
|
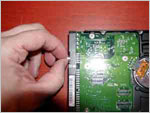 |
5.
Now it's time to leaf through the documentation that came with your
hard drive, along with any included diagrams, for instructions on how
to set the jumpers on the drive. If you're the type of person who
hates to read the instructions, bury your impulse to neglect this
crucial step. If your system has but a single drive connected to the
cable, use the “Cable Select” option; this will suffice in most cases
when there is only one drive. If another drive exists it will be
connected to the same IDE cable, using the “Master” setting.
|
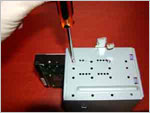 |
6.
You're almost halfway done! Wasn't that easy. Now the fun begins!
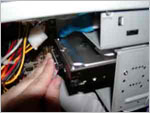
Slide your hard drive into the drive bay, then fasten it down. Some
cases employ a system in which slide rails mount onto the drive for
easy insertion and removal from the drive bay.
|
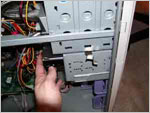 |
7.
Remember that removable drive bay bracket that you removed in Step 4?
Now it's time to return it to the inside of the case.
|
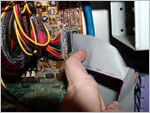 |
8.
You will find that most ATA/66 and ATA/100 IDE cables have either a
blue connector or a connector labeled “System Board.” In the likely
case that this applies to your PC, plug this blue connector into
either the IDE0 (Primary) or IDE1 (Secondary) connector on the
motherboard. The primary connector is color-coded blue, in most
circumstances, to indicate that it should be used for a hard drive.
Usually, you can insert the cables in but one way. However, if the
cable is not keyed for one-way insertion, make sure that the red
stripe on the IDE cable matches up to “Pin 1” on the motherboard.
|
 |
9.
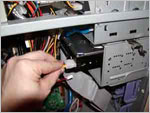
Attach your connector that is located the farthest distance on the
ribbon cable to the hard drive. Usually this connector is either black
or labeled “Primary.” Make sure you place the red stripe on the cable
at pin 1 of the hard drive’s connector. Note: Most drives are keyed to
allow the cable to fit in only one specific way.
|
 |
10.
Now locate a 4-pin power connector from the power supply. Simply
attach it to the hard drive’s power connector. You're almost done!
|
 |
11.
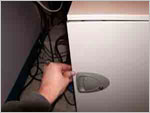
Next, replace your computer case or panel.
|
 |
12.
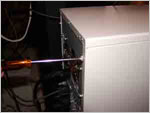
Tighten any screws or clamps to fasten down the case or panel.
|
 |
13.
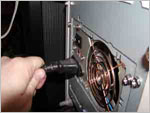
Finally, reattach your computer’s power supplies.
|